
Conservation Architecture - Masonry repairs to a Lincolnshire church tower built nearly 1,000 years ago - Part 2
architects • 3 August 2018
Introduction
Following on from Part 1
where we looked at the repair process up to the point of raking out the decayed mortar, we will now look at the methods used for repointing and the practical steps used to achieve a high quality, long lasting finish.
Whilst the practicalities of repointing and interaction with the materials are certainly the preserve of the experienced and skilled stonemason, the conservation architect is typically responsible for decisions on specification such as the type of mortar to be used and the desired aesthetics of the final finish.
Perhaps surprisingly to some, architects tend to spend quite a lot of time on site, especially when involved in a conservation architecture project. It really does require a hands on approach to be successful in building conservation. Ancient buildings need to be seen, heard and touched to really understand how to work with them. How else would you detect thedistinctive sound of spalling limestone when
tapped, for example? There is only so much you can do from a computer screen. Conservation architects and indeed most professionals who work on them, consider these ancient buildings, which were of course made entirely of natural materials, as living and breathing entities.
Architects are also known to get their hands dirty on the practical side of things from time to time, as you'll see later in this article.
Our thanks to the experienced team at Heritage Masonry
and in particular Stonemason Stephen Hindmarch, who's patience during the research for this article was appreciated.
The Repair Process Step Two - Mortar Formulation
One of the most important stages of the repointing process during architectural building conservation work is the selection of the correct mortar mix.
Hot lime mortar was considered initially, but was judged to be too difficult to prepare on site in sufficient quantities and its use as being of limited significance overall. Whilst it is true that hot lime, being the mortar used when the church was built, would appear to be the most appropriate choice, specifying hot lime would not necessarily result in an accurate reflection of historic building methods. Lime available to stonemasons in the middle ages had a different chemical composition to modern lime, the latter being very pure by comparison. The cost of attempting to replicate the original mortar would certainly have been prohibitive also.
The closest available practical alternative was NHL.
NHL stands for Natural Hydraulic Lime and is produced by heating limestone that contains natural impurities such as clay and silica. Following heating, the chemical structure of the impurities changes, causing them to become reactive with water. This process is ultimately what provides the initial "set" of the mortar once mixed ready for application. The initial set means the resulting mortar is relatively easy for the stonemason to work with contact tools such as a tuck pointer, which is important on conservation projects, where time is often a factor.
Three grades of NHL are available. 2, 3.5 and 5. The grades refer to the compressive strength of the product in Newtons per square millimetre (N/mm²).
It was decided that NHL 3.5 would be used as a suitable alternative for the base of the mortar mix.
The NHL of course needs to be mixed with both sand and water to become mortar. The ratio of ingredients is extremely important in determining the final outcome and needs to be tailored to the specific project in hand, whilst taking into account local environmental considerations.
The mortar should not be harder that the stone it is applied to as it must both absorb water from the surrounding stone and also allow the penetrating moisture to evaporate. In addition, a good mix should be tolerant of thermal expansion and natural structural movement whilst not being hard enough to wear away the limestone in the process. The mortar must be weather resistant, although it is worth noting that the purpose of the mortar in repointing is to degrade over time, whilst the limestone remains protected. In other words, mortar is to be considered an expendable material.
As can be surmised from the above, it requires a stonemason of considerable experience to prepare the correct mix for a given situation.
The Repair Process Step Three - Application
Lime mortar is traditionally applied by hand and this will almost always be the case when work is performed on historic buildings.
The first stage of application is to wet down the joints between the stonework which helps to prevent moisture from the mortar being drawn directly into the limestone. This step is necessary to prevent the newly applied mortar from shrinking by loss of moisture, which would potentially lead it to becoming detached from the stonework. Wetting down is performed with a simple hand pumped pressure sprayer which distributes water in a gentle but targeted stream. Wetting the actual face of the limestone is to be avoided so care is taken to ensure that water is only sprayed into the mortar joints themselves.
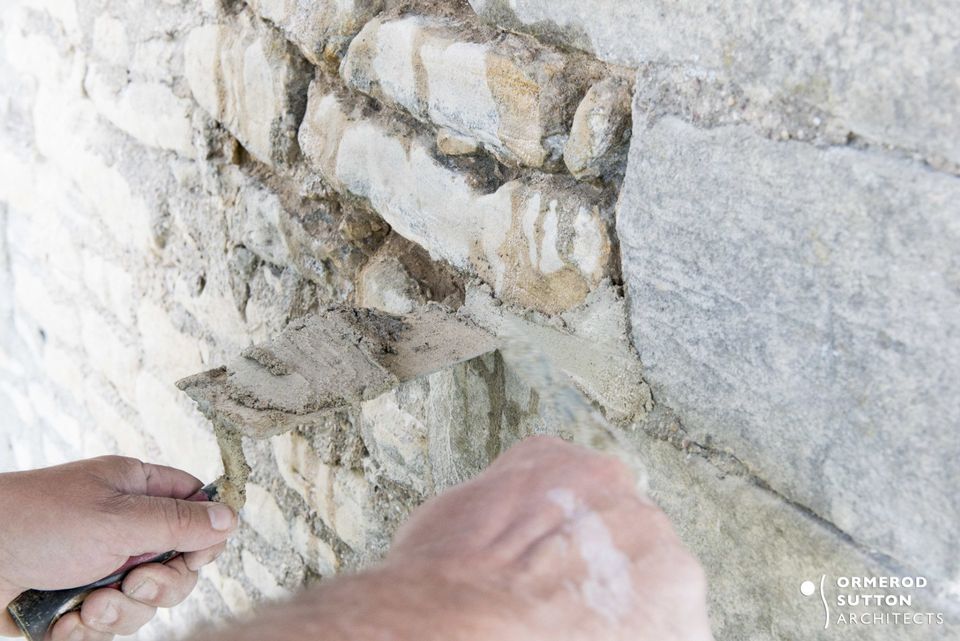
Following wetting down, fresh mortar is taken from a bucket using a trowel and the repointing can begin. As can be seen in the image at the top of this page, our masons preferred to use an inverted bucket trowel and tuck pointer for the application. As well as serving as a suitable method of holding the mortar whilst pointing, the trowel it enables a secondary check on the consistency of the mortar. Well prepared mortar will stick to the underside of a trowel whereas if the mix is too wet or too dry, it will not.
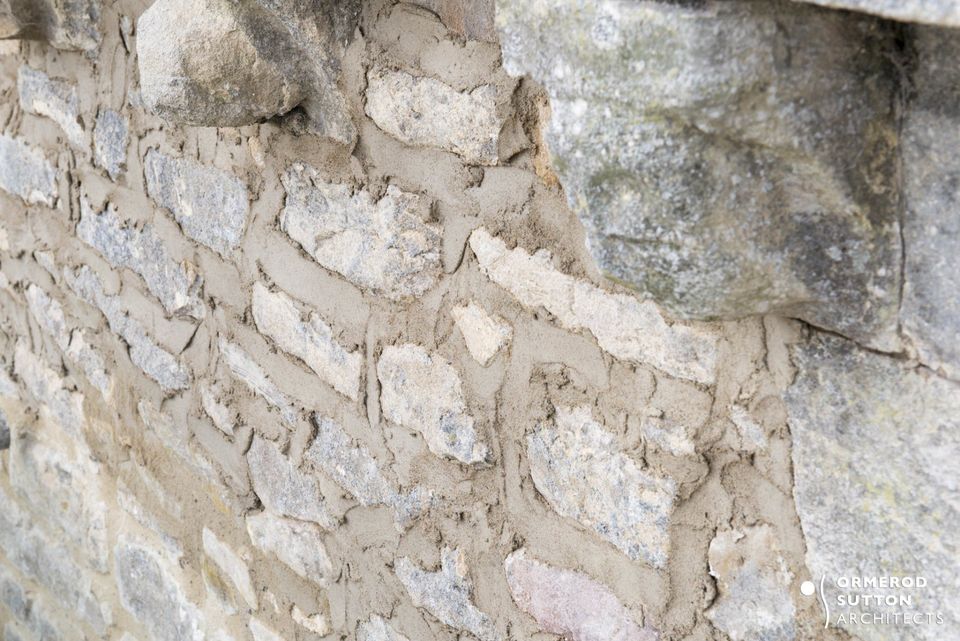
Mortar is applied liberally using a pointer and is pushed deep into the exposed joints until full. As can be seen below, excess is left in situ at this stage.
Once the section of wall is complete, a waiting period of between 4 and 6 hours begins, whilst the mortar begins to set, known as "going off".
The Repair Process Step Four - Brushing Off
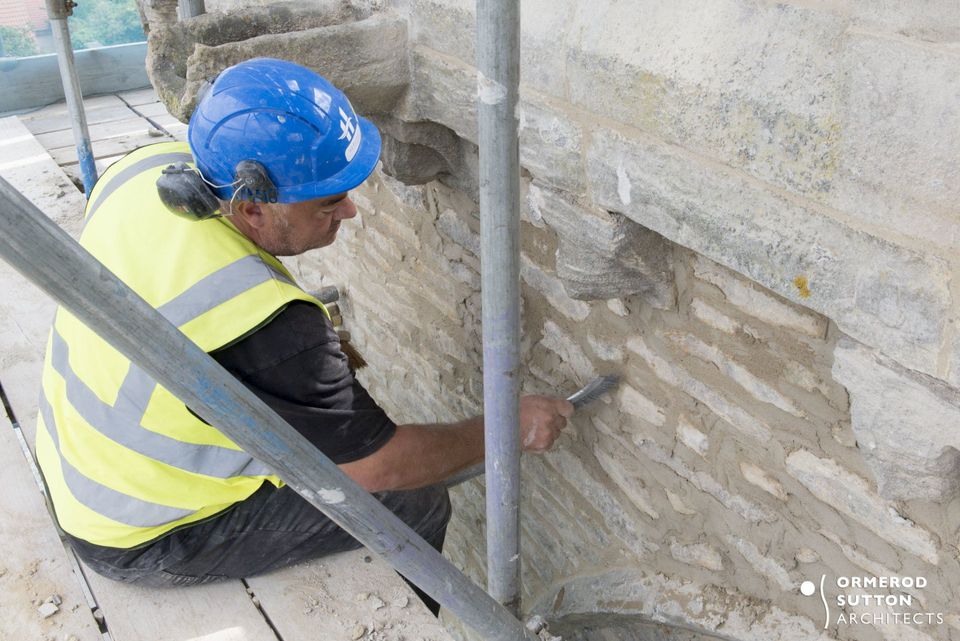
Once the mortar has "gone off", the excess is removed by brushing. To test whether or not the mortar is ready for brushing, a small section will be tested. If the mortar clings to the brush in lumps, clogging the bristles, or smears, the mortar must be allowed more time to set.
It is imperative that the mason use either a stainless steel or brass brush for this process. Other brush types are liable to damage the limestone or lead to staining.
Whilst the task of brushing appears to be a simple one, in actual fact, a considerable amount of skill and experience is required to ensure a quality finish. If too much of the mortar is removed, the mortar joint and arris (edges) of the limestone would be too exposed, leading to unnecessary damage. Conversely, if excess mortar is allowed to remain, its effectiveness is diminished. A fine balance must be struck, whilst considering the aesthetics of the finish.
As can be seen in the image below, the brushing action of the mason follows the contours of each stone block, ensuring that the mortar conforms to the stone and not the reverse. This leads to the best possible visual presentation of the original limestone.
Following another period of setting, the applied mortar is ready to be further refined.
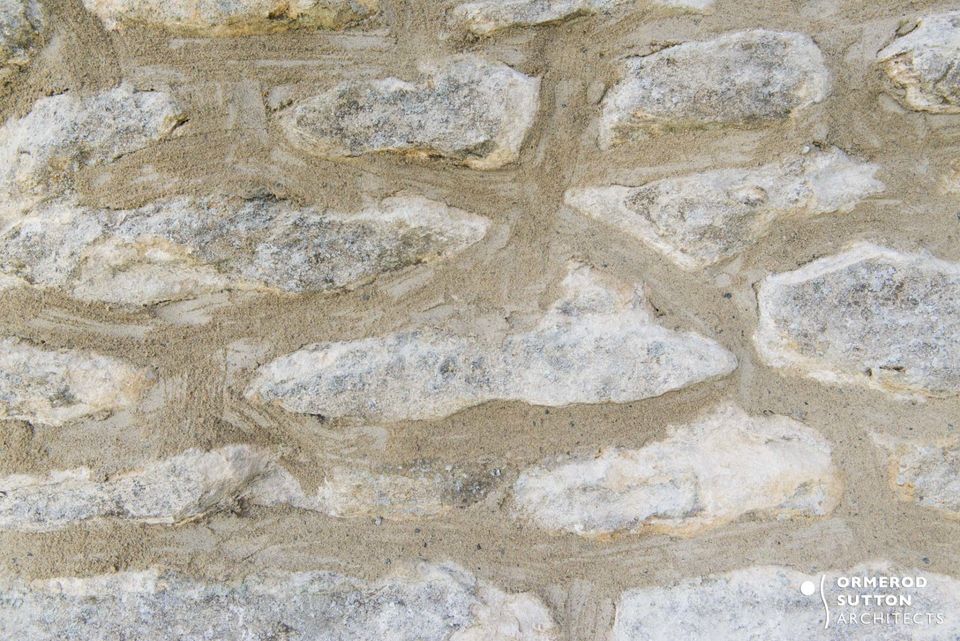
Fine finishing for lime mortar involves using a brush known as a churn brush. It may also be referred to as a "tickling" brush. The purpose of this additional brushing is to expose coarser parts of the aggregate and ensure that the arris of the stone is revealed insofar as is called for in the conservation architecture specification.
In the video below, a stonemason working on our conservation project can be seen brushing out and then immediately refining the finish with a churn brush. The final result will complement the limestone structure and reveal its form. The section of the church being worked on here is the oldest part of the tower.
The Results
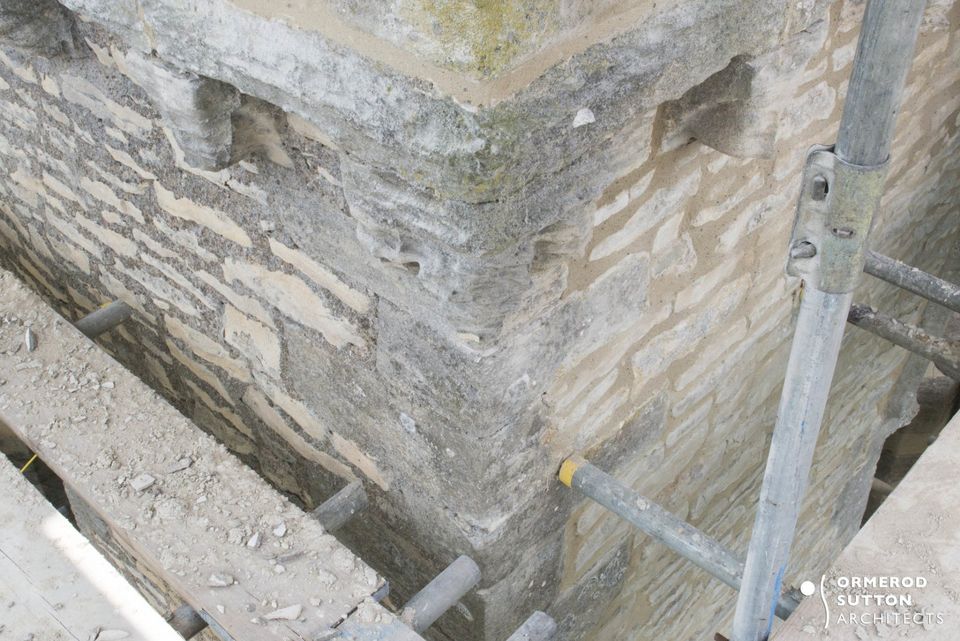
The contrast between the 19th century mortar and the recently applied lime mortar is clear to see. Hopefully you will agree with us that the new mortar is far more pleasing to the eye. In the image below, it is of course still setting, and will lighten in colour over time as it cures and dries out. Once the main sections of walls have all been repointed, the stonemasons will move on to work on the quoins (center of image) which require very detailed work.
Interestingly, despite all this work, it may be that the final result does not in fact reflect the original appearance of the church in Saxon times. Many experts believe that churches of this period may have actually been rendered externally with lime render, giving them a completely white appearance. Whilst not entirely proven, it would certainly seem to be appropriate if one imagines being an Anglo-Saxon villager, gazing over toward the village whilst toiling in the fields on a hot summers day, your eyes being met by the gleaming white tower of your place of worship, which you most likely helped to construct.
Hands on experience for the Project Architect
Armine Sutton, one of our directors and the project architect for All Saints' Church, Winterton, was fortunate enough to be offered a few hours of CPD (Continuing Professional Development) by Stonemason Stephen Hindmarch. A small test patch was set aside by the masons and direct tuition was provided in both raking out and the application of lime mortar. She took to it rather well, too. Stephen suggested it might
even not have to be redone. Praise indeed!
These opportunities are important to conservation architects as in order to lead a conservation project, it is necessary to understand the skills, roles and responsibilities of each member of the project team.
Here is a video of Armine trying her hand at repointing on the upper section of the church tower.
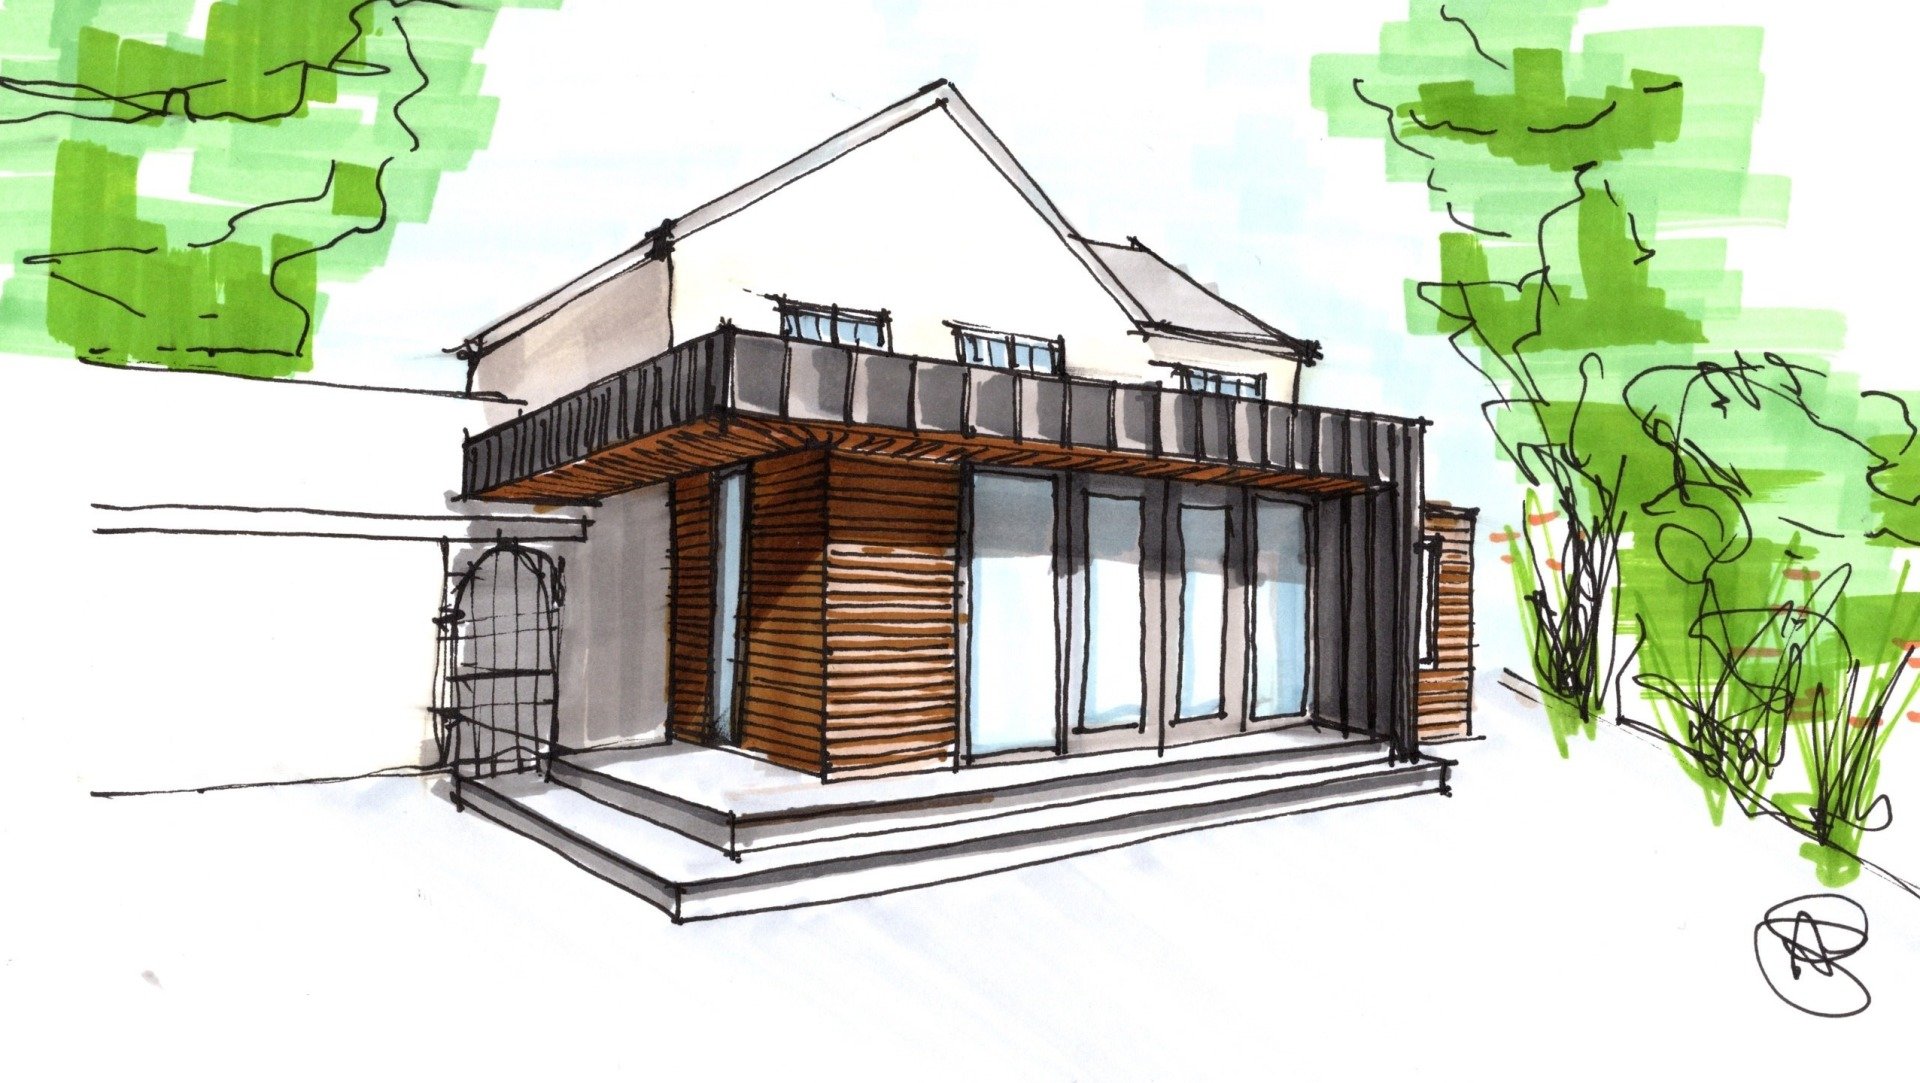
We were asked to replace an old and outdated inflexible conservatory space with a modern contemporary extension, which was more in keeping with the needs of the family.
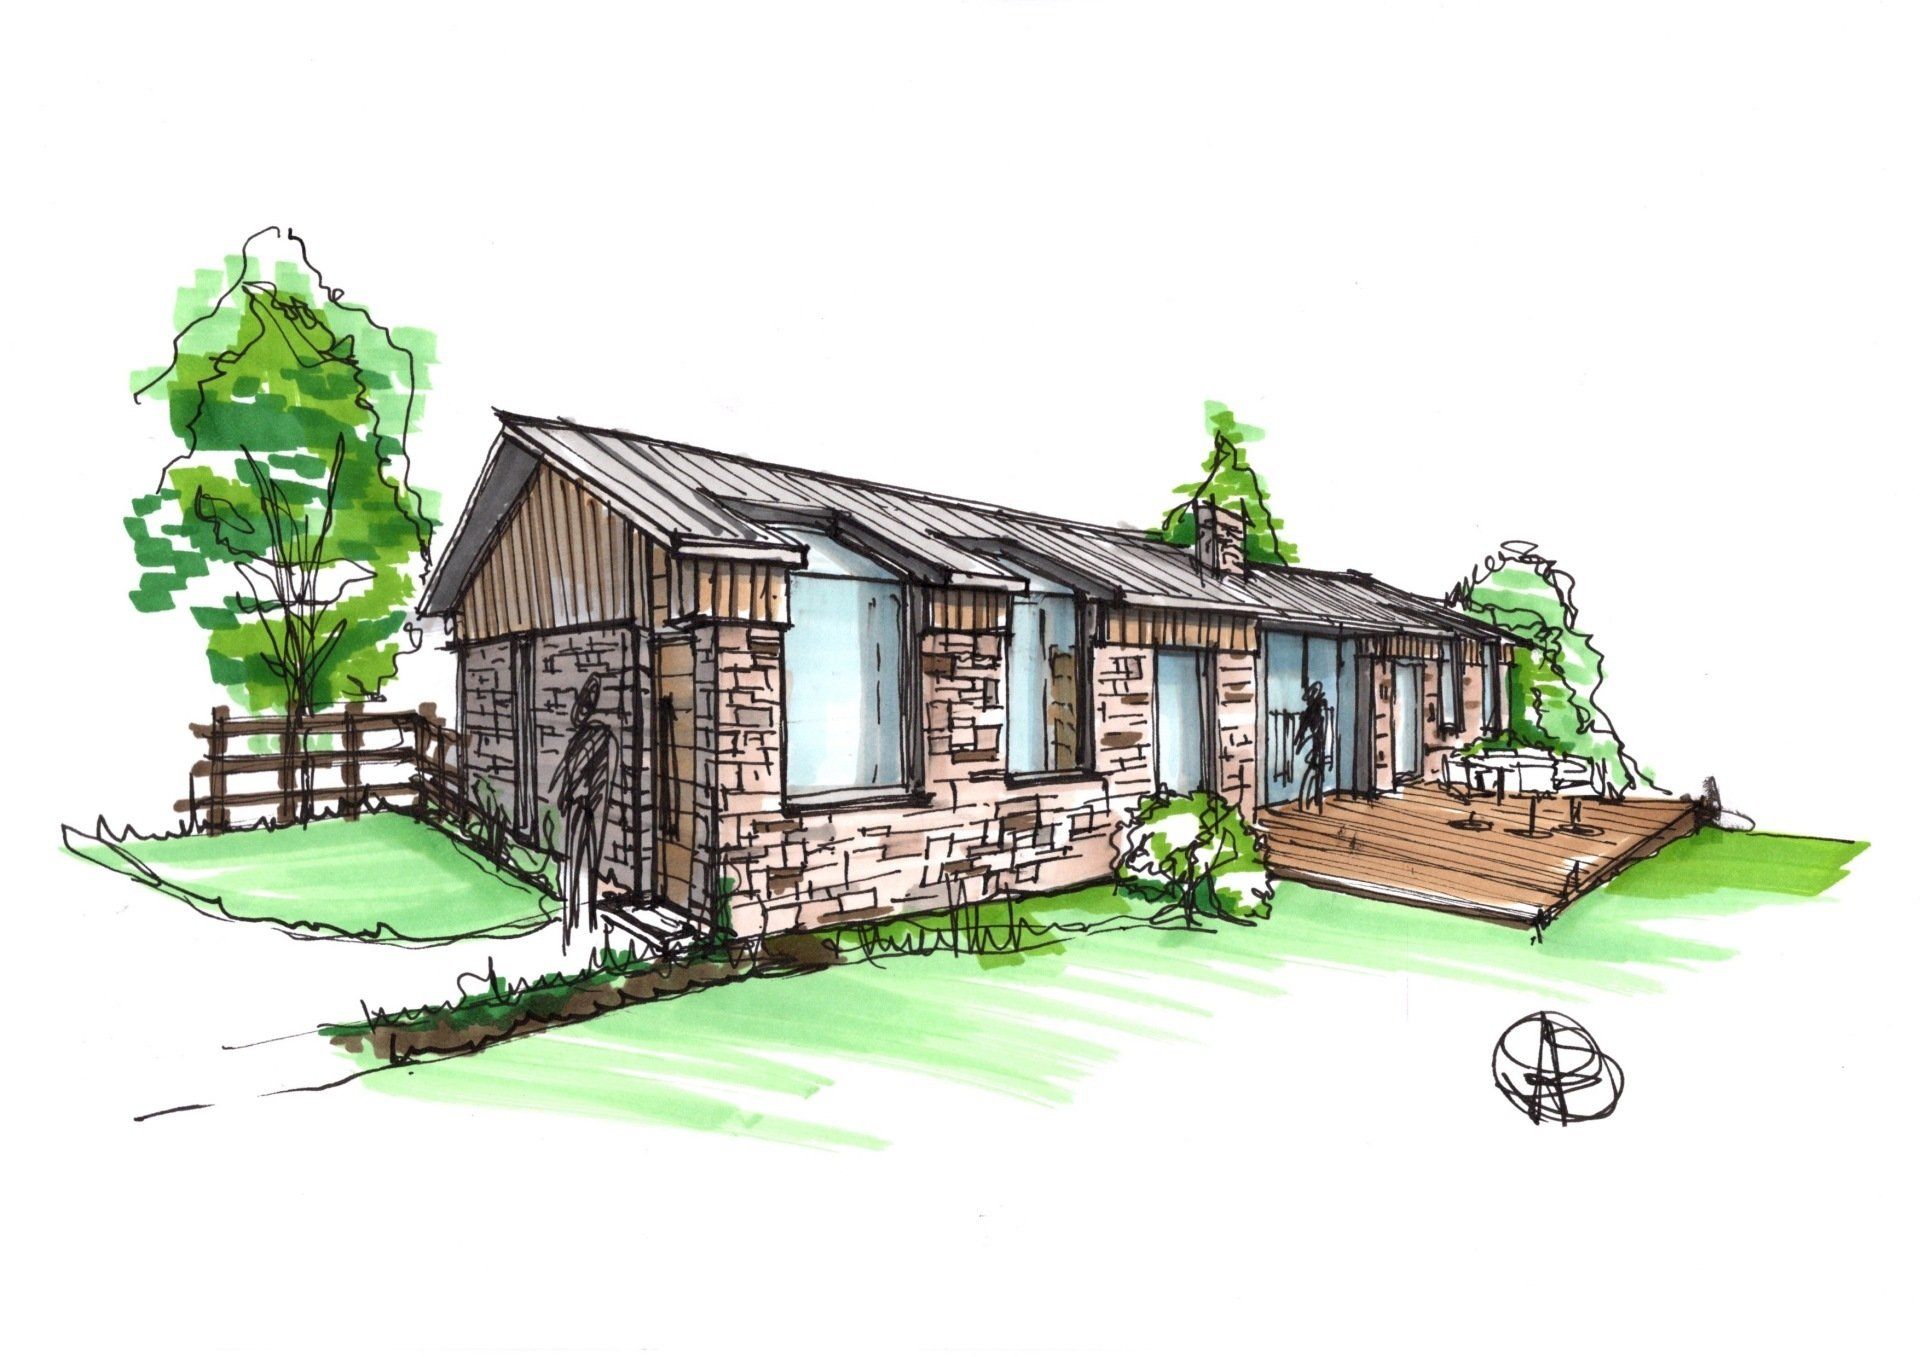
Our clients wanted to turn a disused pigsty into a beautiful family home. An unusual project, to be sure.
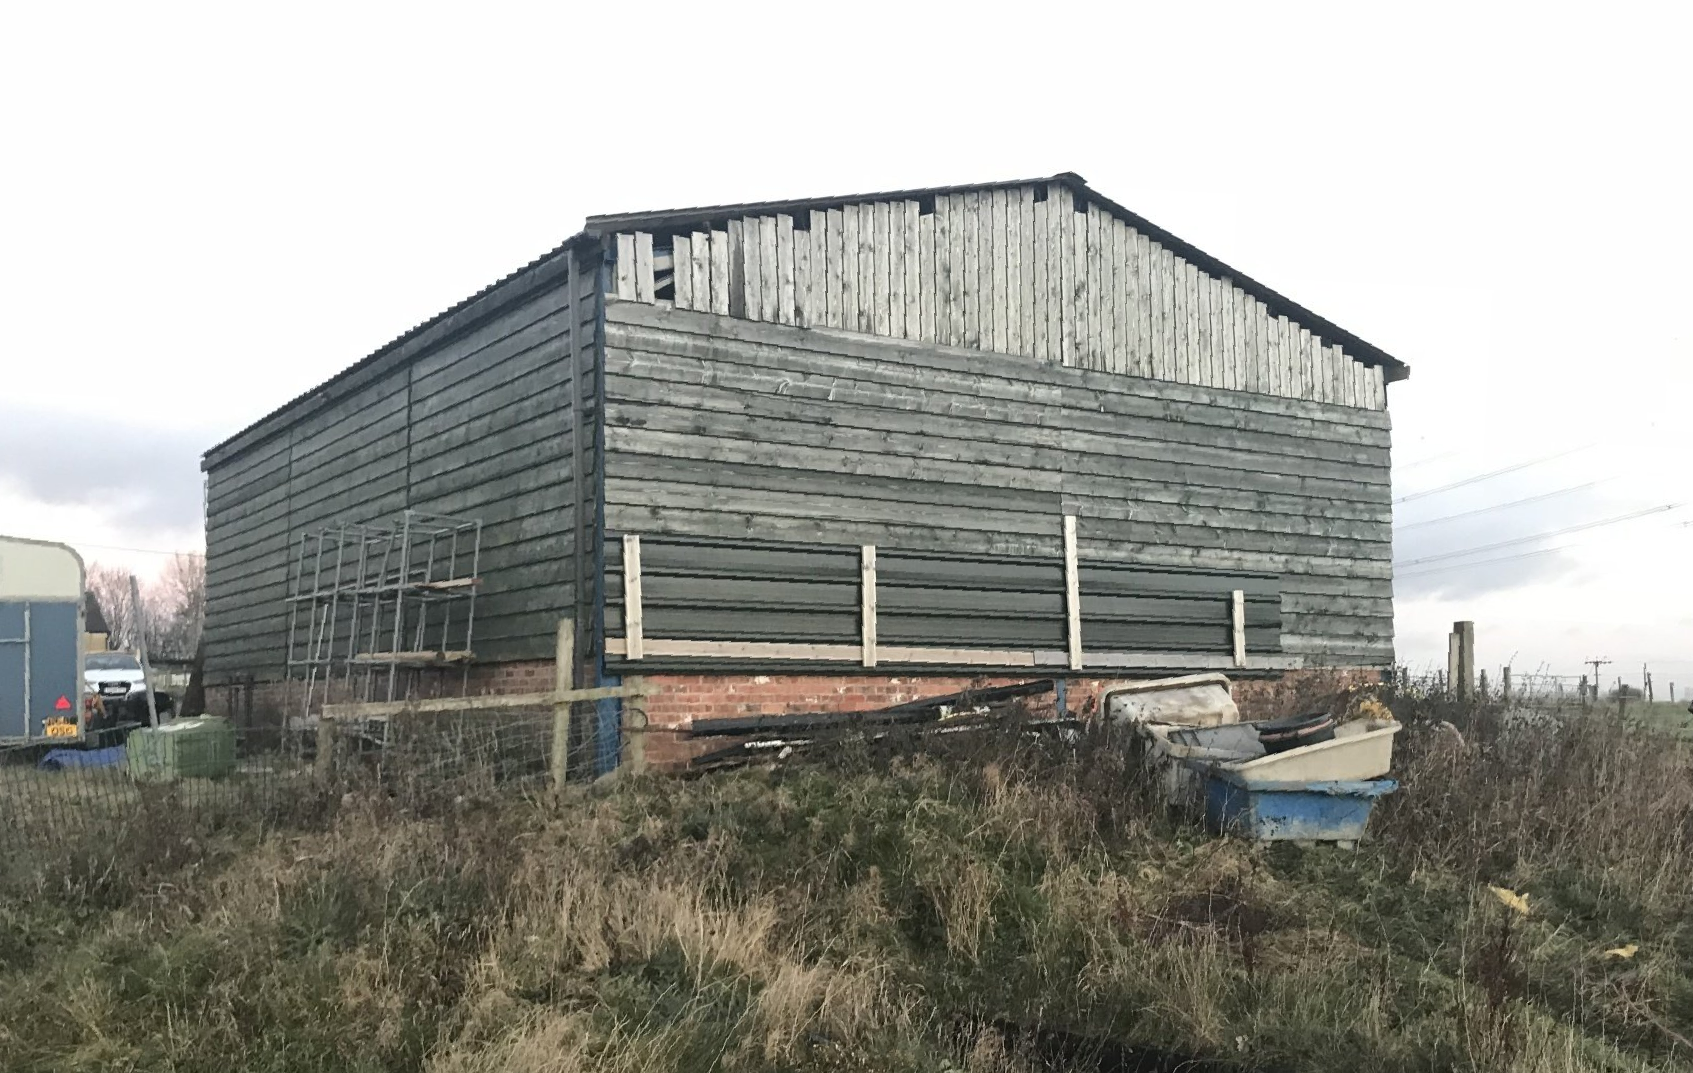
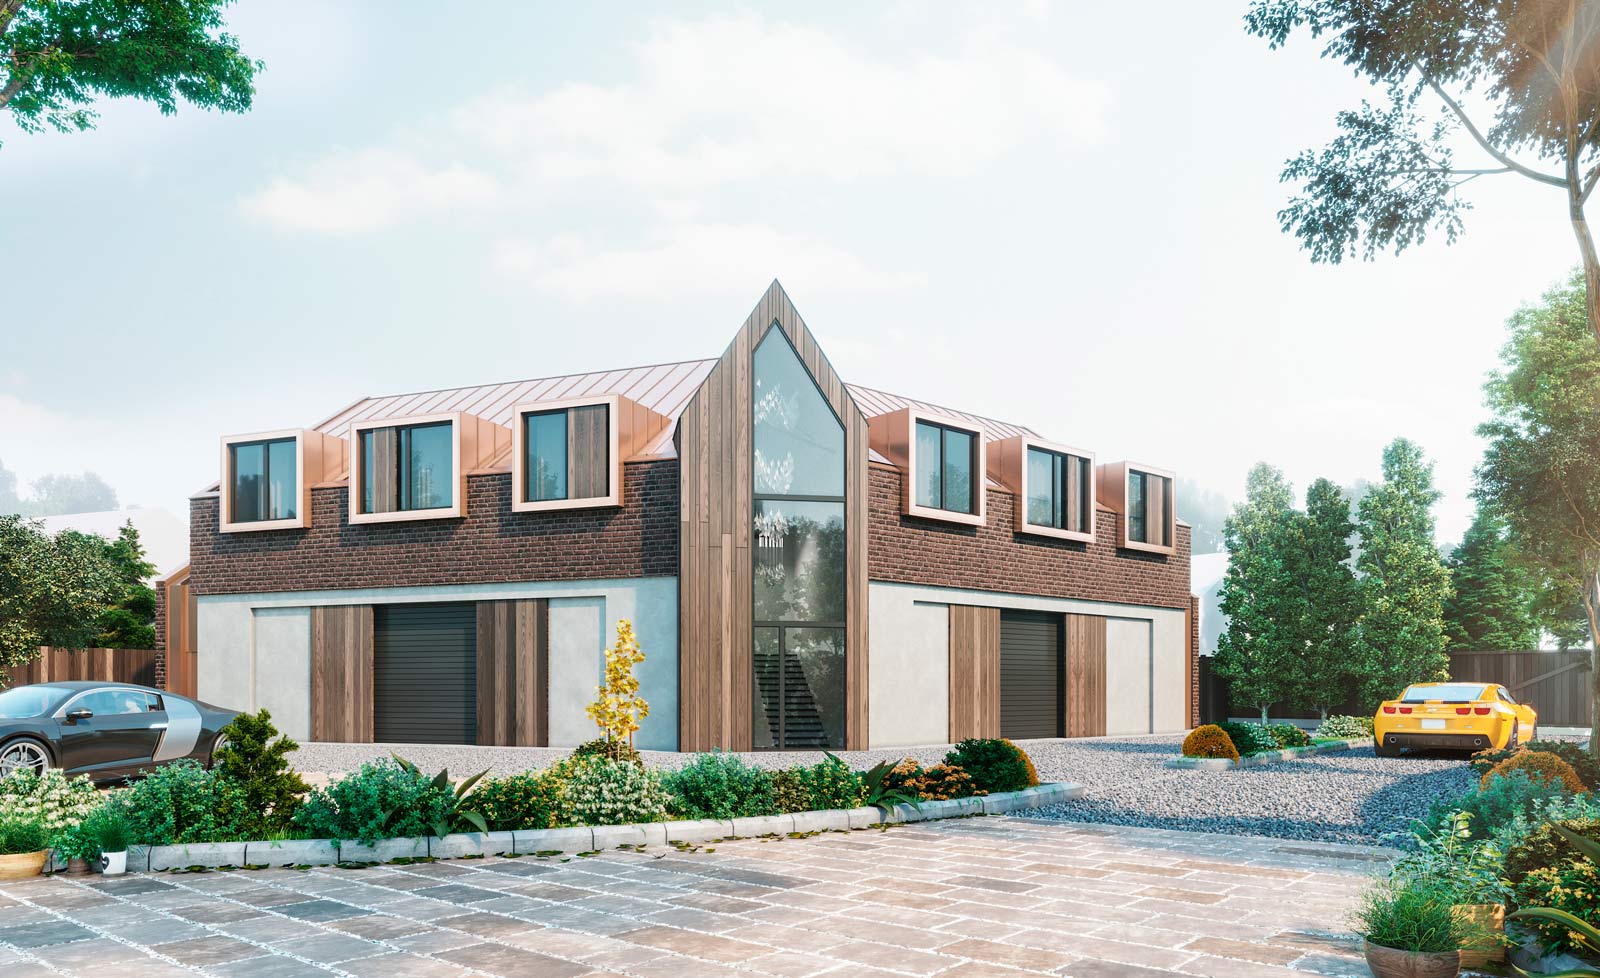
We were approached by a family from Yorkshire who are from a farming background who wanted to repurpose a dilapidated old agricultural barn.

Planning permission approved by Leeds City Council for this residential extension which will create over 25% more living space for our clients for a mere 1.6% increase in the building footprint.
Following extensive negotiations, Harrogate Borough Council planning officers have approved our plans for an ultra modern mixed use development in the village of Kirk Hammerton near Harrogate.

Wex Photo/Video continue their retail expansion to Bristol, where Ormerod Sutton Architects have been appointed as retail architects and interior designers.
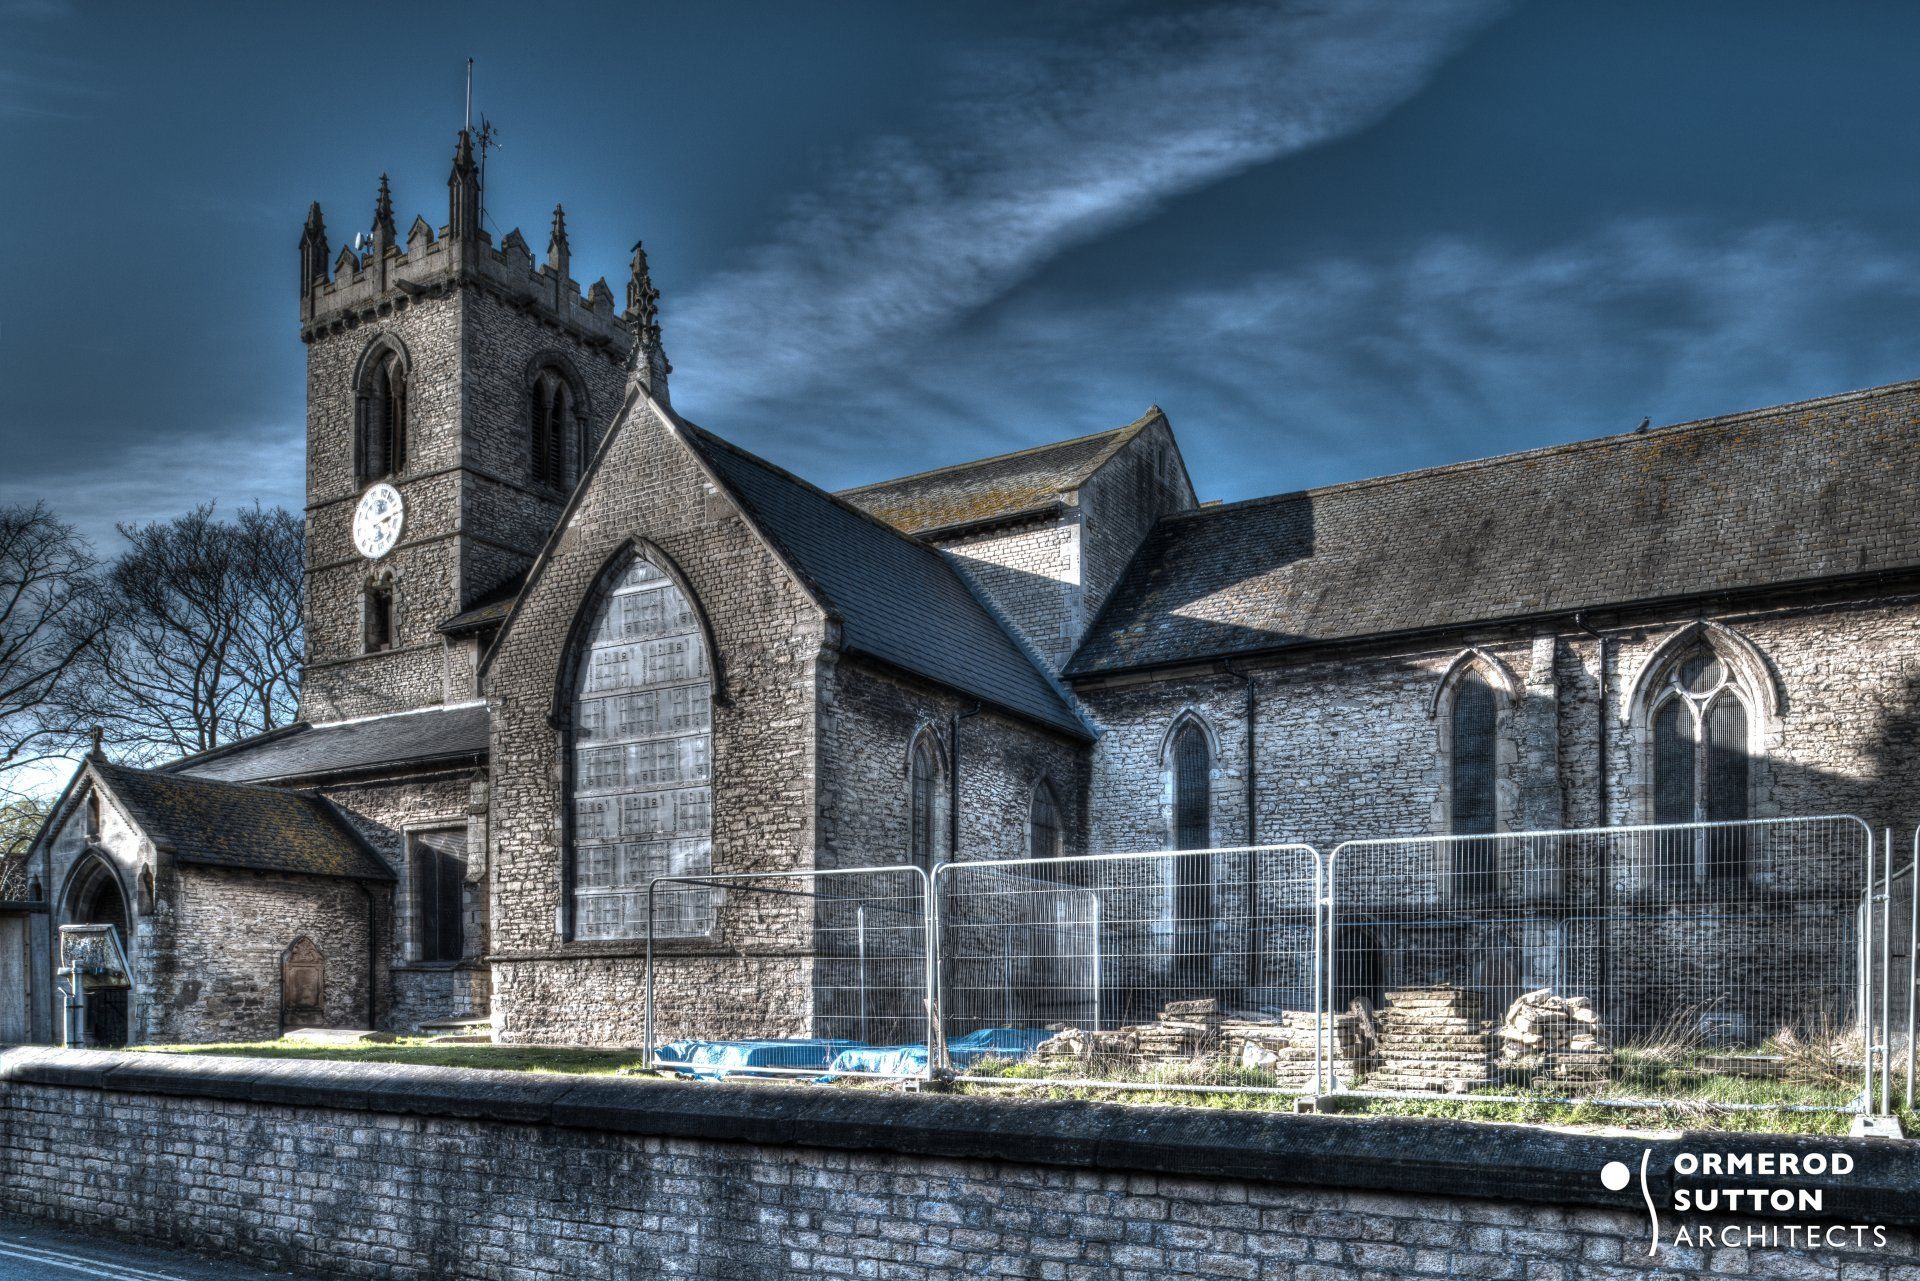
All Saints' Church, Winterton is an important Grade I listed church. Funded by the Heritage Lottery, work is currently being undertaken to remove and replace 19th century cementitious mortar which has significantly damaged the ancient Lincolnshire limestone tower walls. Part 1 of 2.
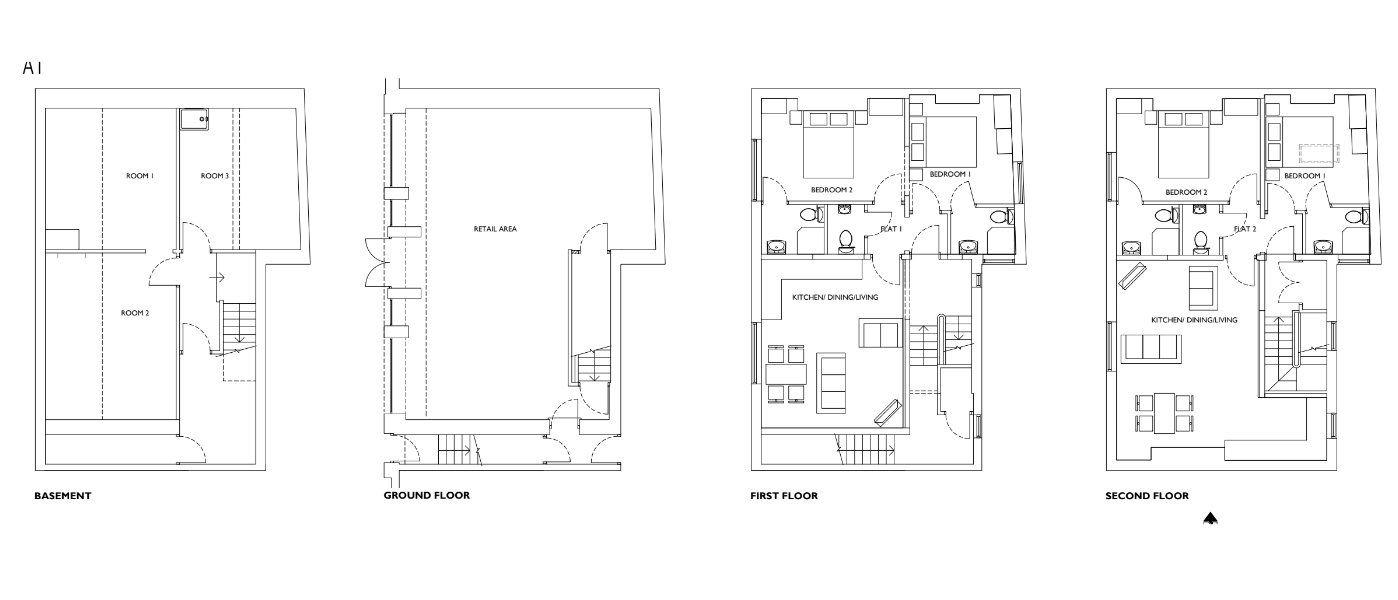
Existing retail premised on high street with offices above converted to mixed use development of retail at ground level and 2 apartments at upper levels under permitted development.
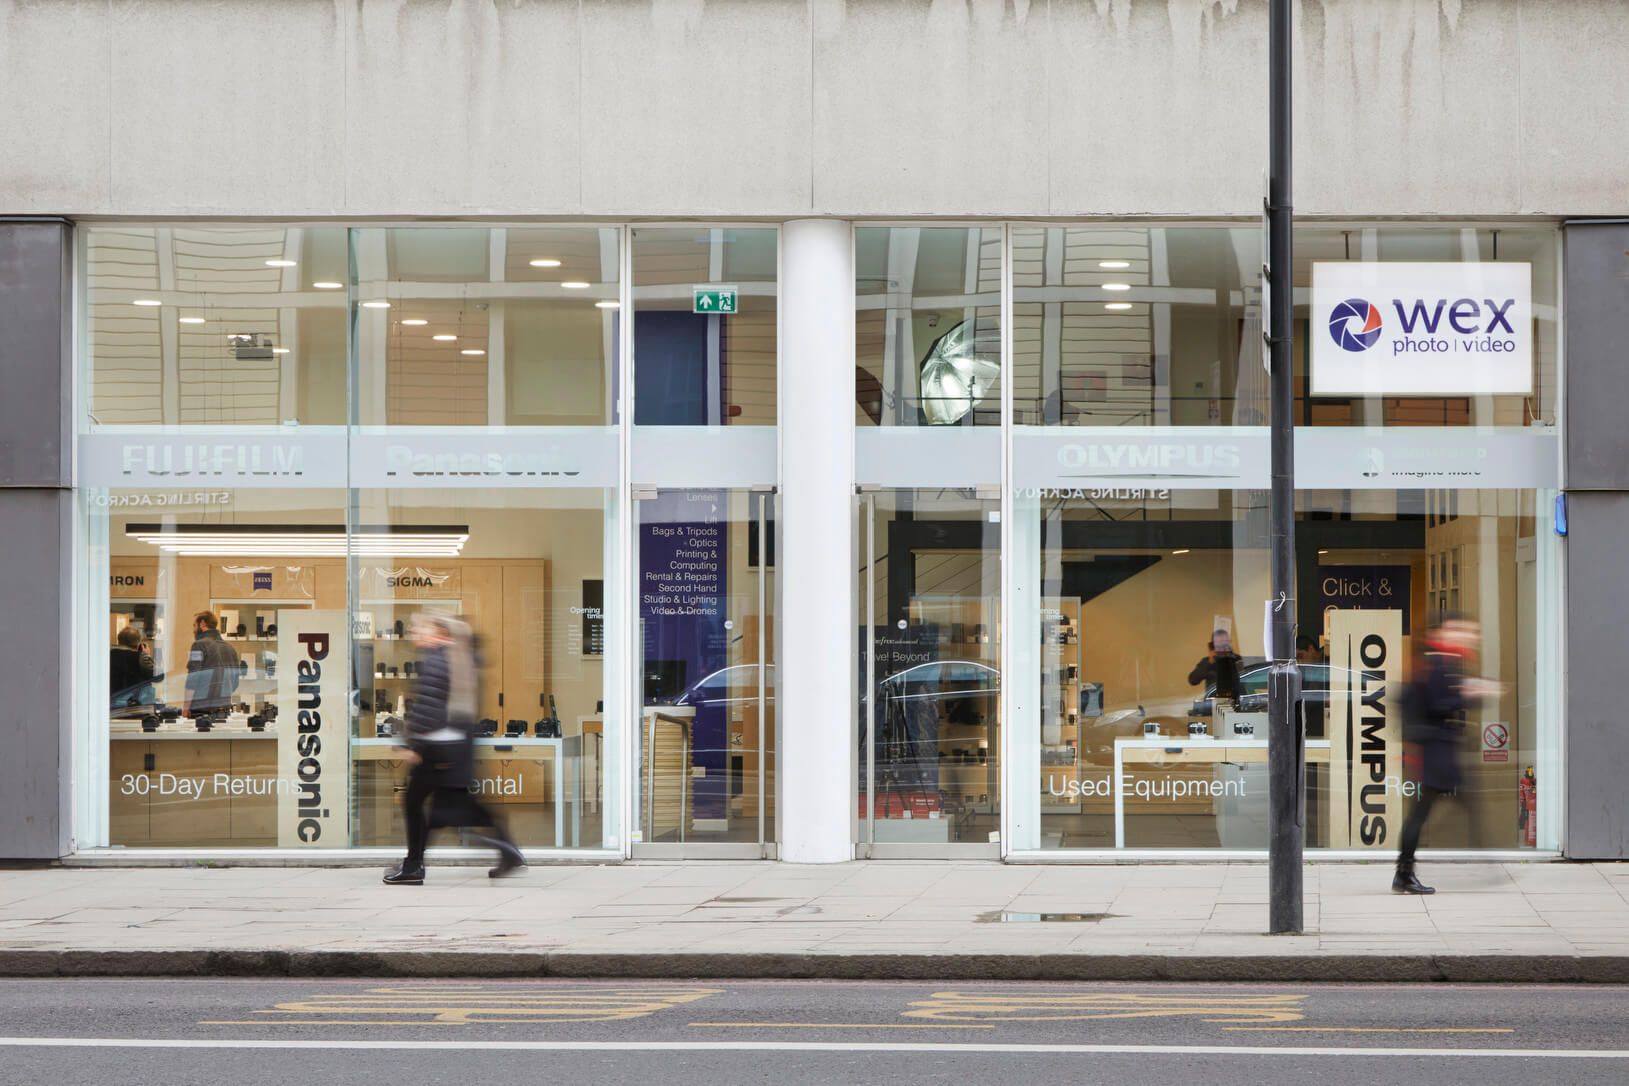
We are delighted to announce that our retail design interior for the Wex Photo Video (formerly Wex Photographic) retail store in central London has been selected by the Shop and Display Equipment Association (SDEA) and Retail Focus magazine as a shortlisted entry for the "Best Overall Store Collaboration " category in the Creative Retail Awards . With a team consisting of Ormerod Sutton Architects, NBC Contracting Ltd and Delta Light UK , the design was conceived in mid 2017 and completed, including the bespoke furniture design and production, both on time and to budget, opening to the public in November 2017. The elapsed time from our initial appointment to completion of the 7,000sqft retail store amounted to only 6 months. Elements of this project included enhancing the customer experience, space planning, brand prominence, bespoke furniture design and product presentation. Please see our dedicated case study page for further details on the design process and images of the completed store.

As highly qualified professional designers with extensive technical knowledge, architects are of substantial benefit to any construction project.